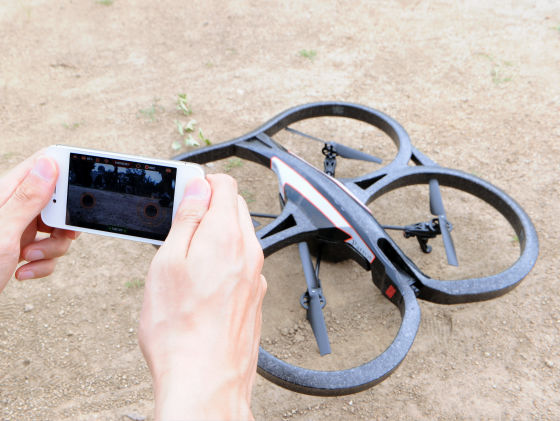
Everyone can easily take an HD movie and take a picture of the sun tower with 'AR Drone 2' where the iPhone / iPad becomes the controller
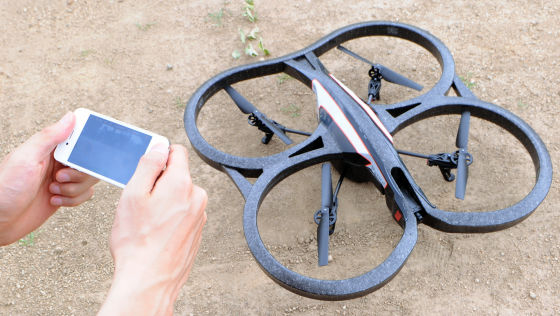
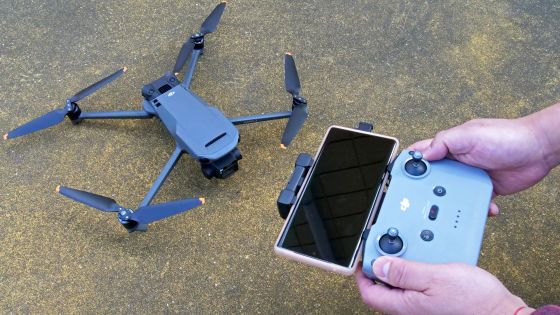
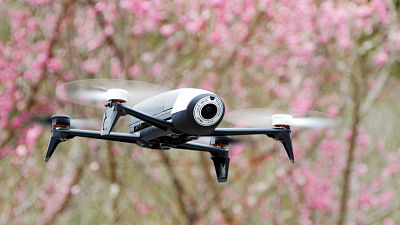
With an HD camera that can shoot at 720p (30 fps) on a fuselage capable of flying in the air with four rotors "AR.Drone 2"Intuitive operation by iPhone and iPad is possible, it is a product that can enjoy the aerial shooting easily.
AR.Drone 2.0. Parrot new wi - fi quadricopter - AR.Drone.com - HD Camera - Parrot
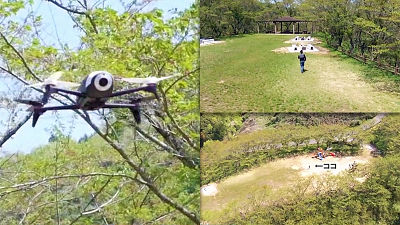
I took a picture of the sun tower
So, in order to test what we can do with this product, we decided to take a picture of the sun tower 70 meters high in the Expo Park. The movies actually shot using "AR Drone 2" are as follows. In addition, the image is interrupted halfway because the altitude is raised too much and the image transmission is disconnected.
I tried the aerial photograph of the sun tower 70 meters high from "AR Drone 2" (no sound) - YouTube
The movies actually shooting while "AR Drone 2" flying can be seen below.
Looking at the sun tower in the aerial "AR Drone 2" look like this - YouTube
◆ Photo review
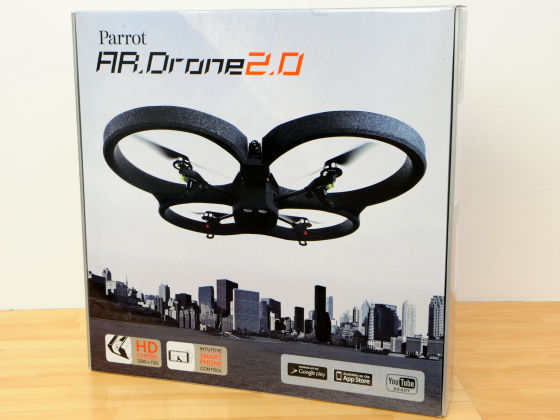
The package looks something like this.
Pad.
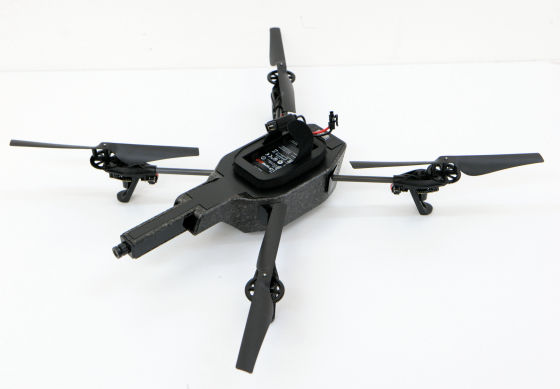
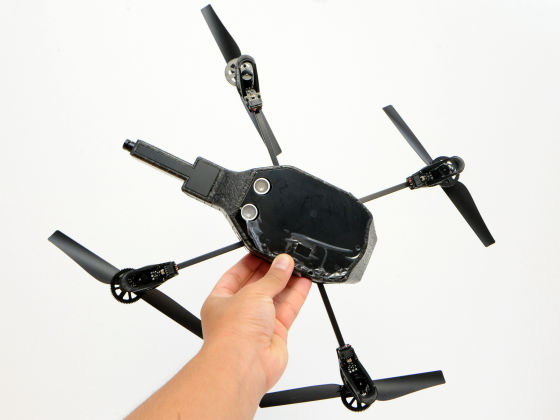
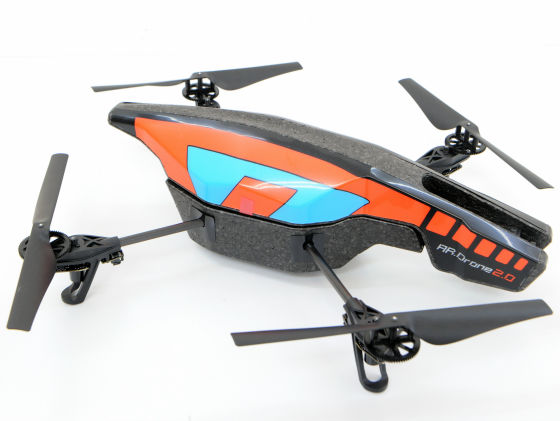
The main body is as follows.
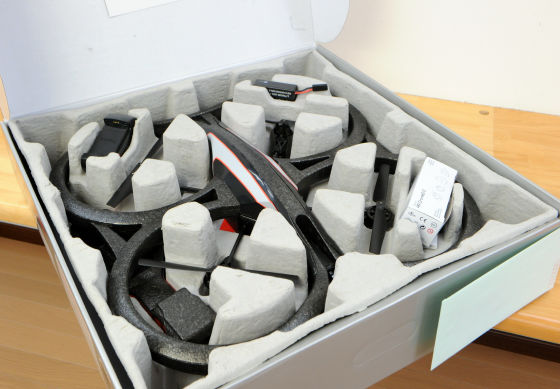
Accessories include polystyrene foam frames and batteries, chargers, instruction manuals that protect the rotor.

It turns like this when turned inside out.
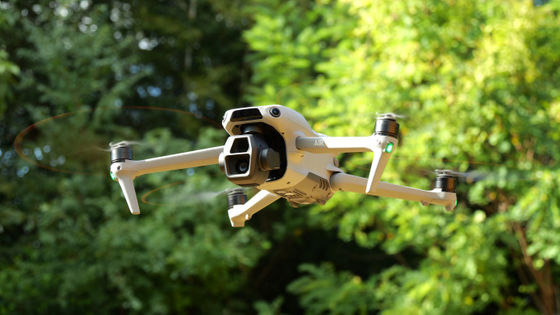
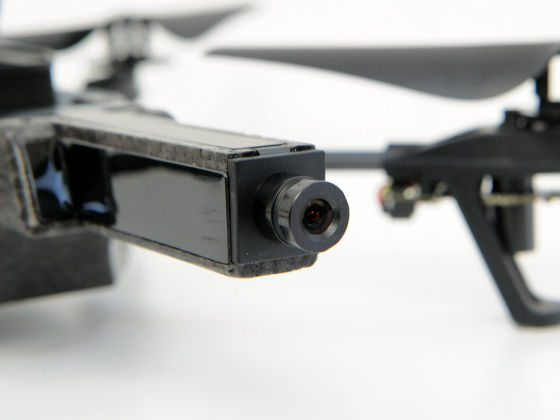
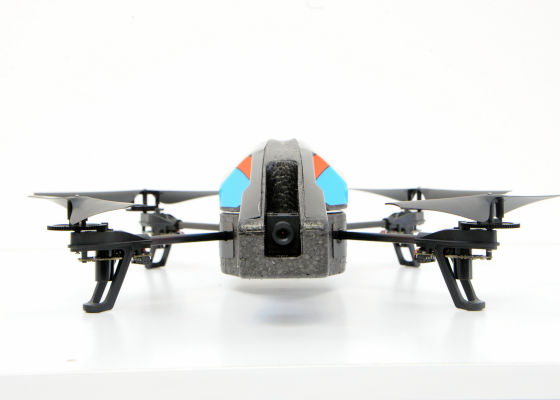
On the tip of the main body is equipped with a camera that can shoot movies with HD picture quality.
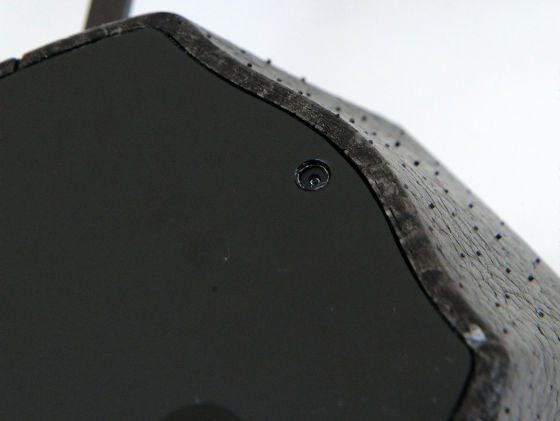
At the bottom is a 320 x 240 pixel camera.
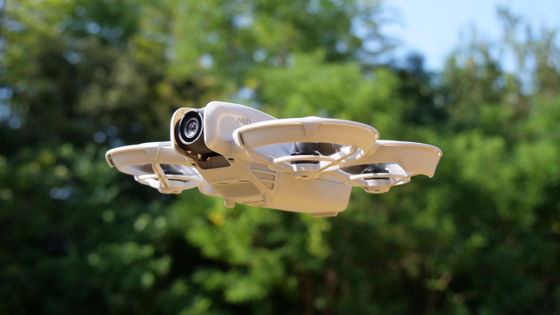
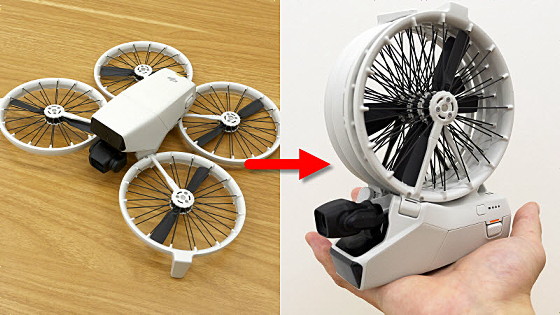
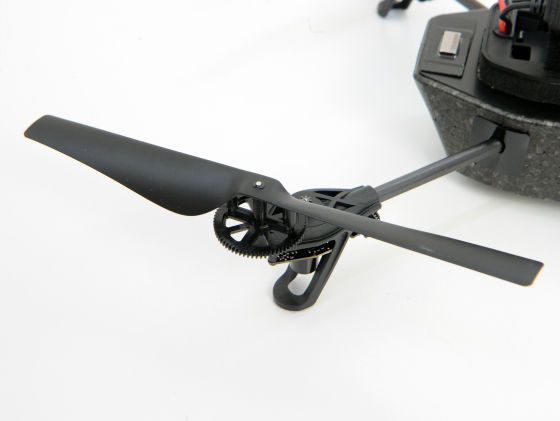
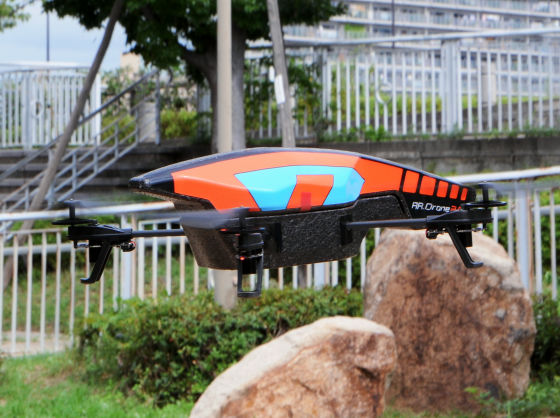
Flying with 4 rotors as below.
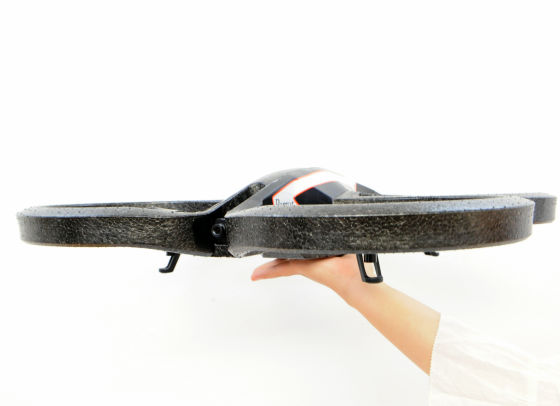
The state with the cover for outdoor use is as follows.
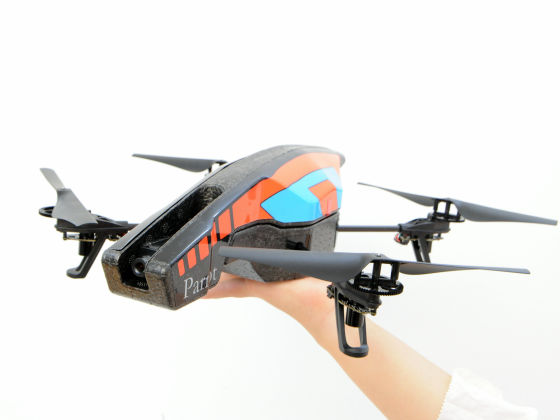
It is about this size to have with adult women's hands.
I attached a cover that made a frame around the rotor to prevent it from being damaged by colliding with a wall or the like when flying indoors.
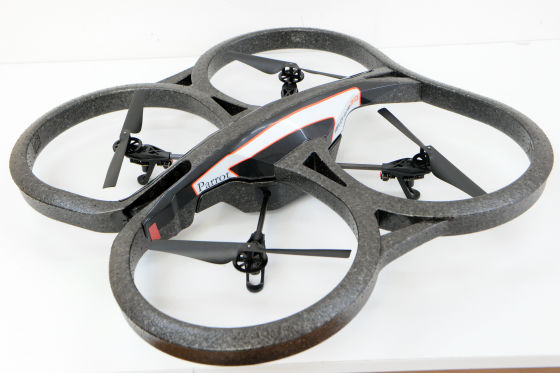

Because of the frame of Styrofoam, it is felt one size larger than the case with the cover for outdoor use.
◆ Installing software
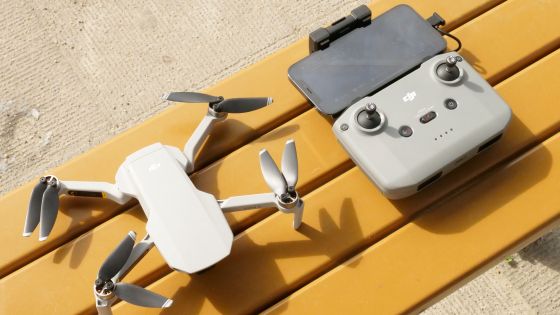
Since the operation is done by making an ad hoc connection with iPhone, iPad, iPod Touch and so on, it is necessary to install the application first.
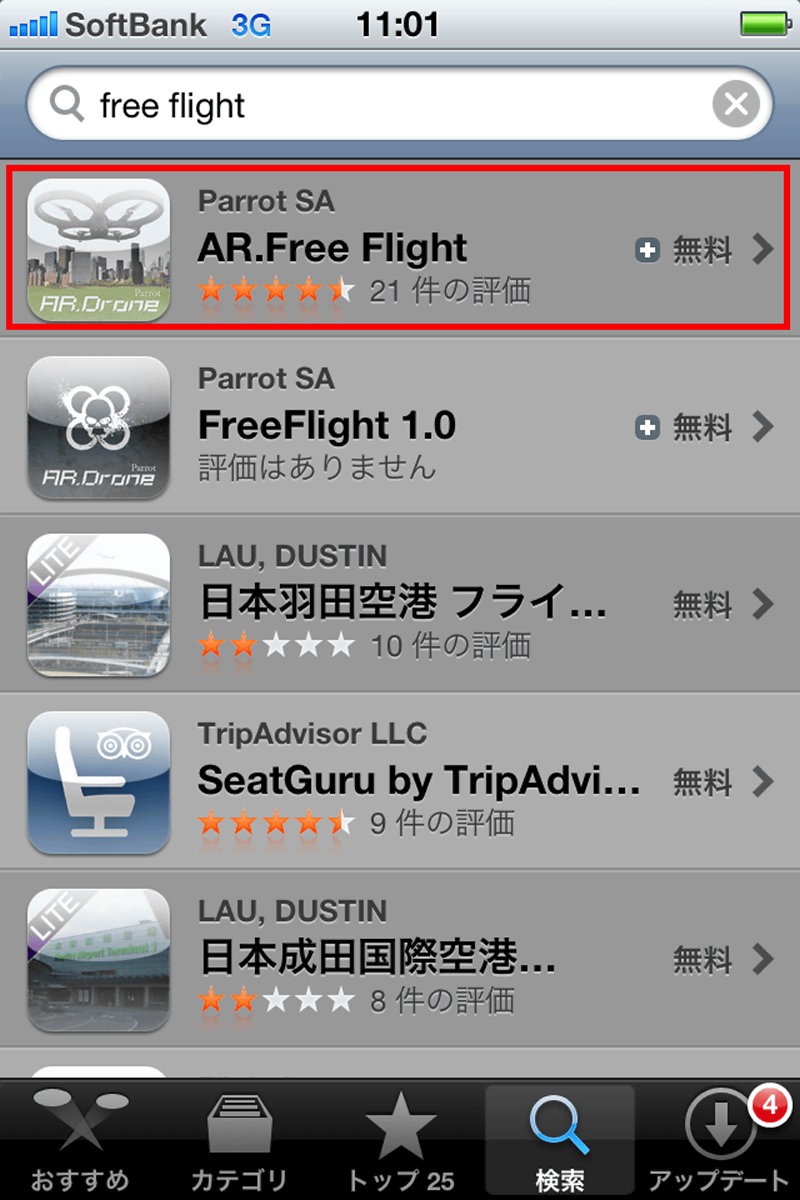
Launch the App Store application and search for "free flight"

Tap "AR.Free Flight"
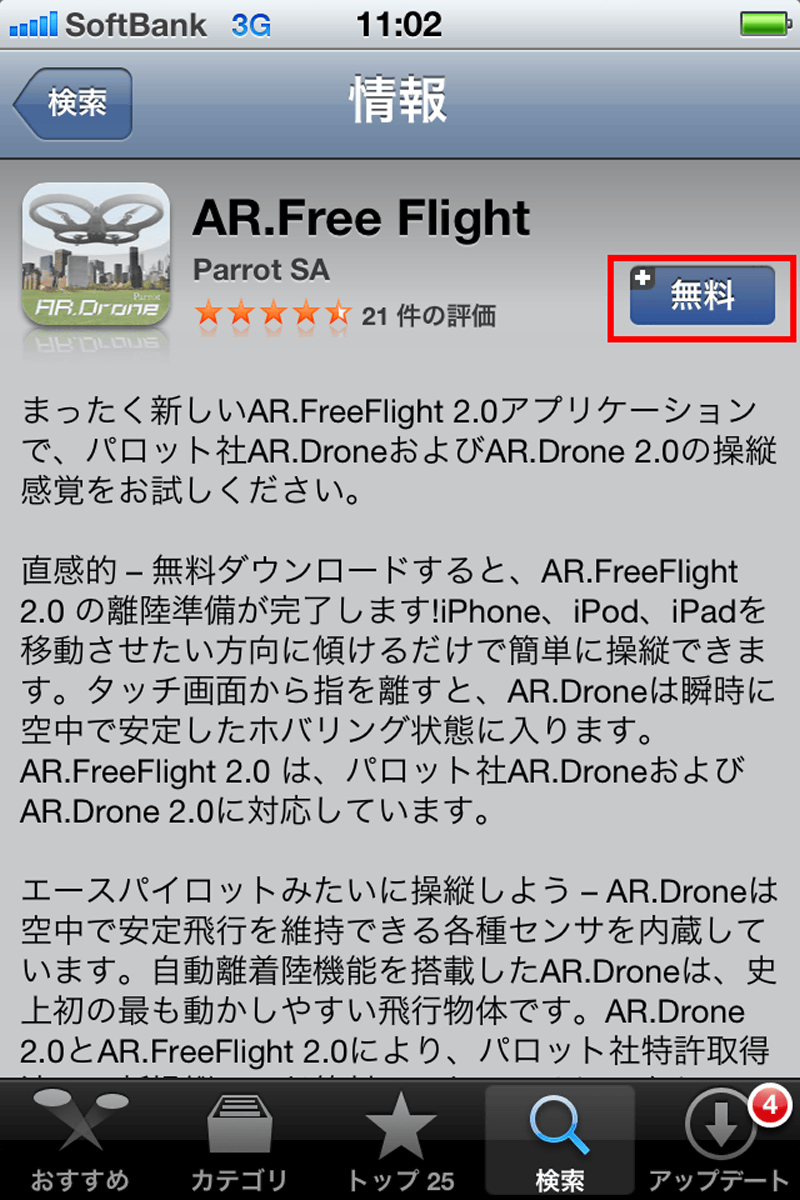
Tap "Free"
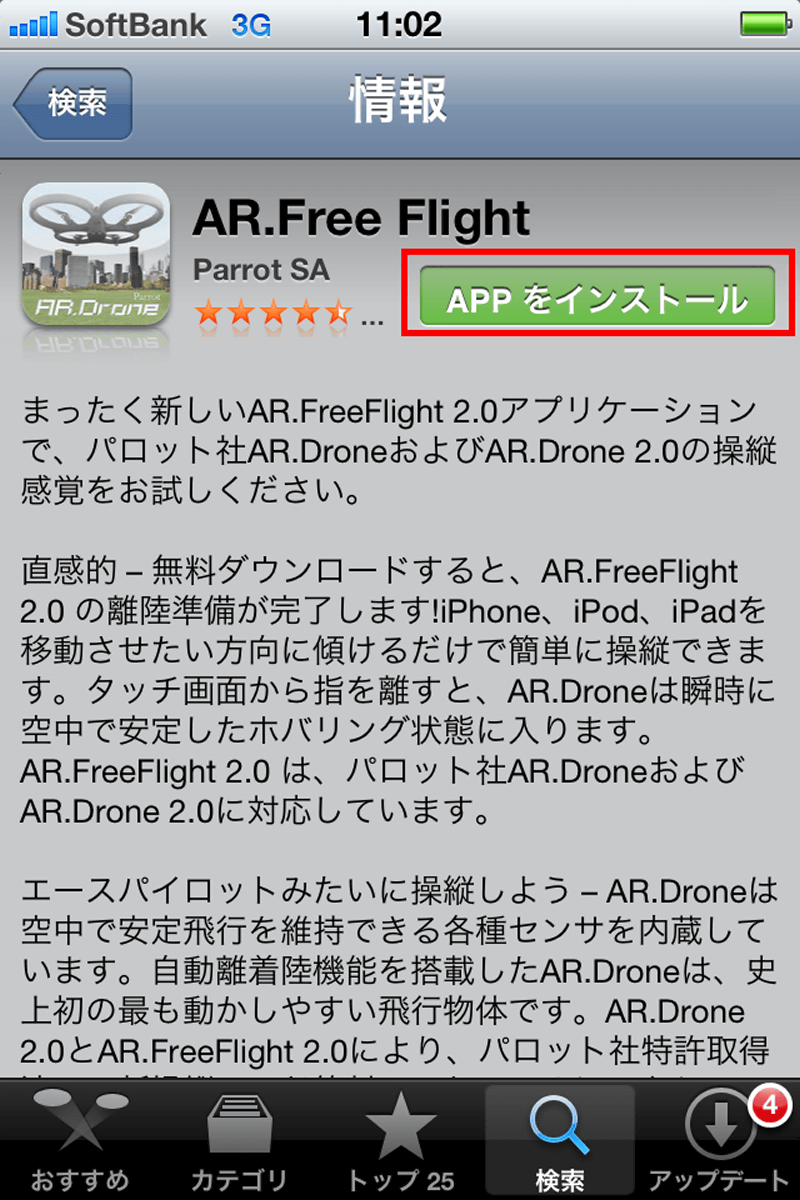
Tap "Install"
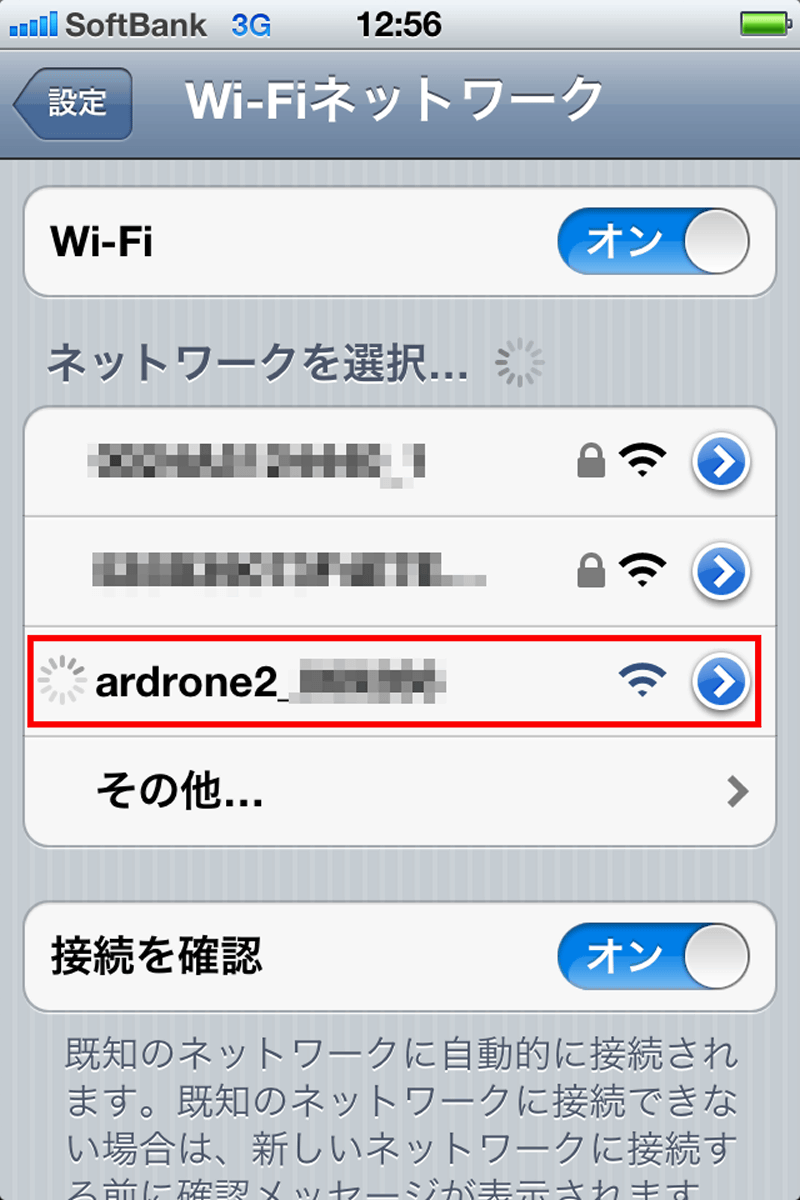
Since installation of the application is completed so far, next you start "Setting" of iPhone and do ad hoc connection of "AR Drone" main body and terminal.
Tap on the access point that starts with "ardrone 2" displayed in "Wi-Fi network" OK
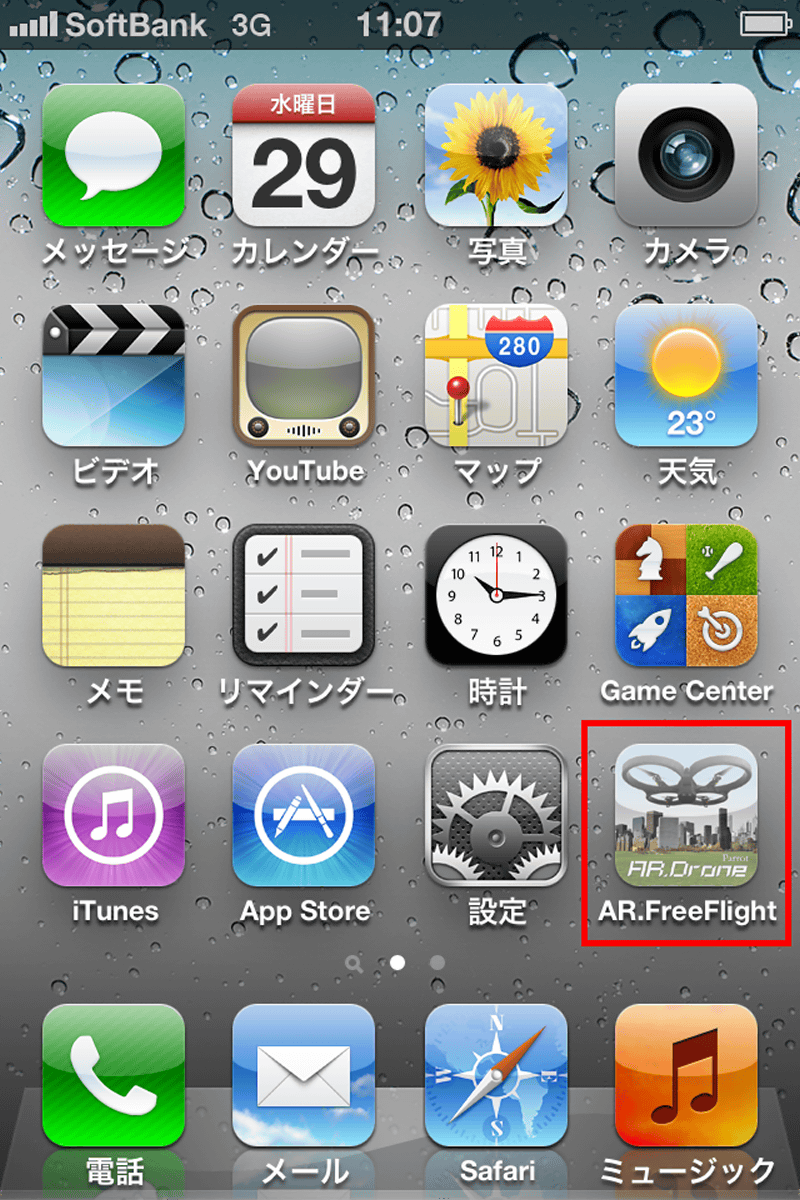
Next, tap on the icon on the home screen and start "AR.Free Flight"
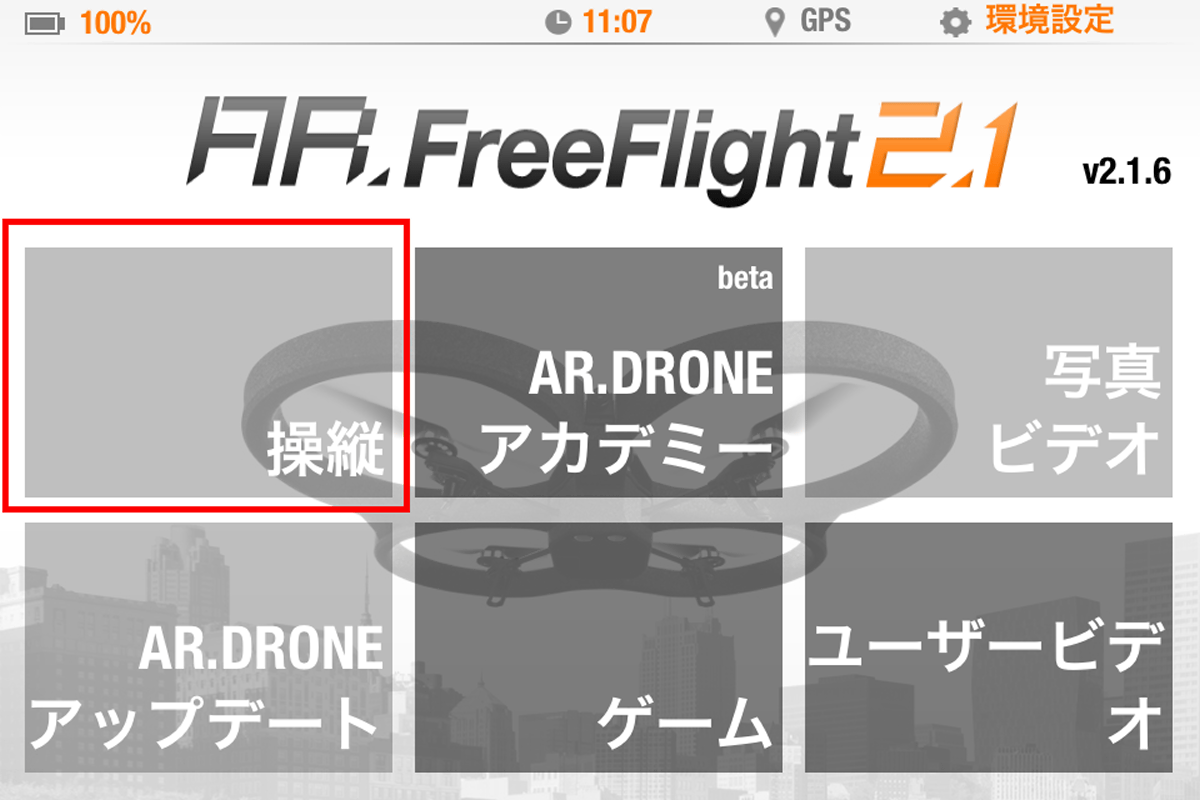
As this screen is displayed, wait for a while

Tap steering
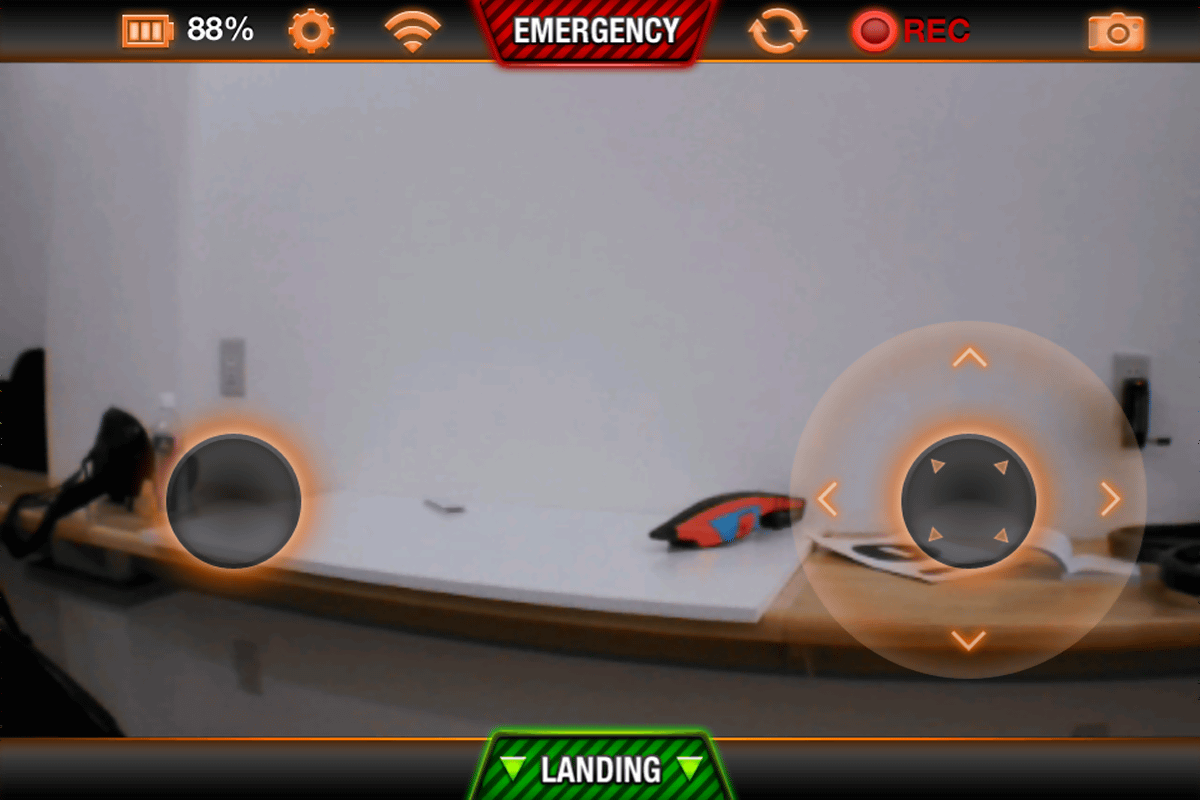
The operation screen is as follows. Rotate and raise with the icon on the right, and move back and forth and right and left with the icon on the left.
◆ I actually skipped it
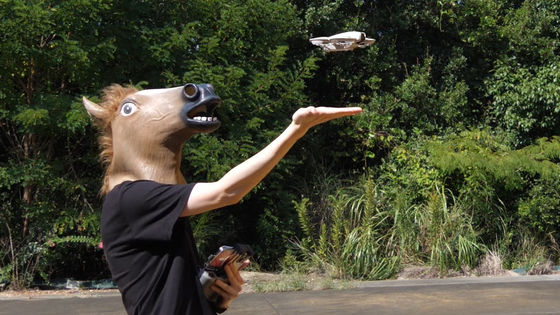
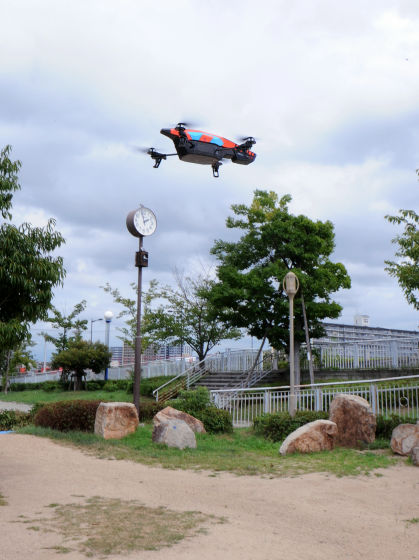
I decided to take it out to the neighborhood park and skip it.
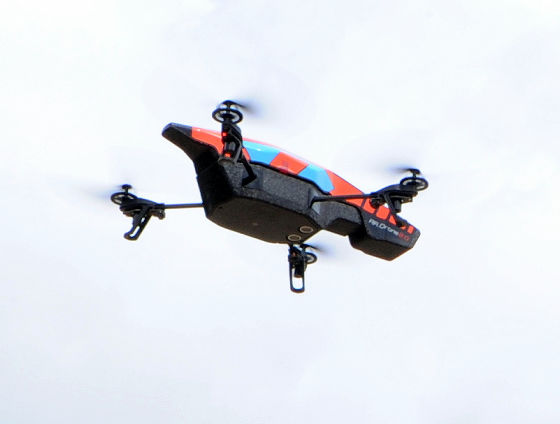
When you start flight you will hover around 1 meter above the ground. In the meantime, it is safe to perform posture control automatically using a gyro sensor without any operation.

Although it flows with the sudoku when it is blown by crosswind, in addition to that it does not disturb the posture in particular, so even a beginner can be calm and calm down. Also, it did not break even if it crashed more than 10 times from the height of about 3 meters.
Increasing the altitude a bit like this.
Since the nominal battery driving time is as short as about 12 minutes, if you want to enjoy flying for a long time, purchase separately sold batteries "Parrot Battery for AR.Drone 2.0(Tax included 3499 yen) "is recommended.
The movies that understand the state of taking off and landing are as follows.
I tried skipping Quad Rotor "AR Drone 2" to steer on iPhone - YouTube
The appearance that it goes round around the playground and comes around is as follows. Flights outdoors are susceptible to the influence of crosswinds, so they often wander, but levels that can manage somehow if it is not a strong wind.
Check operability of small quad rotor "AR Drone 2" - YouTube
The price on the official site is 32,550 yen, and since there is only one battery in the standard set, we recommend you to buy some additional batteries to keep you flying continuously.

In this review, we actually purchased 5 additional batteries for continuous shooting, and we also purchased one additional battery charger for charging

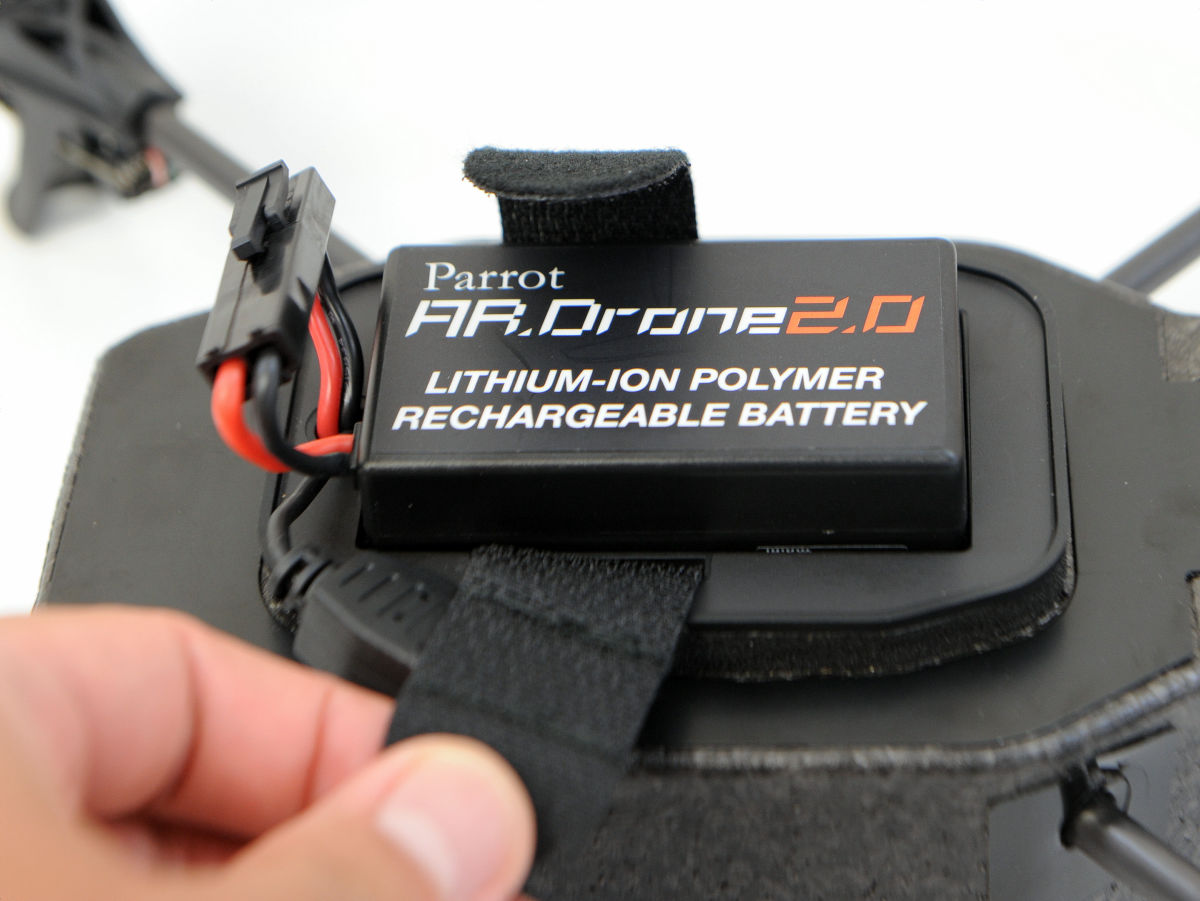
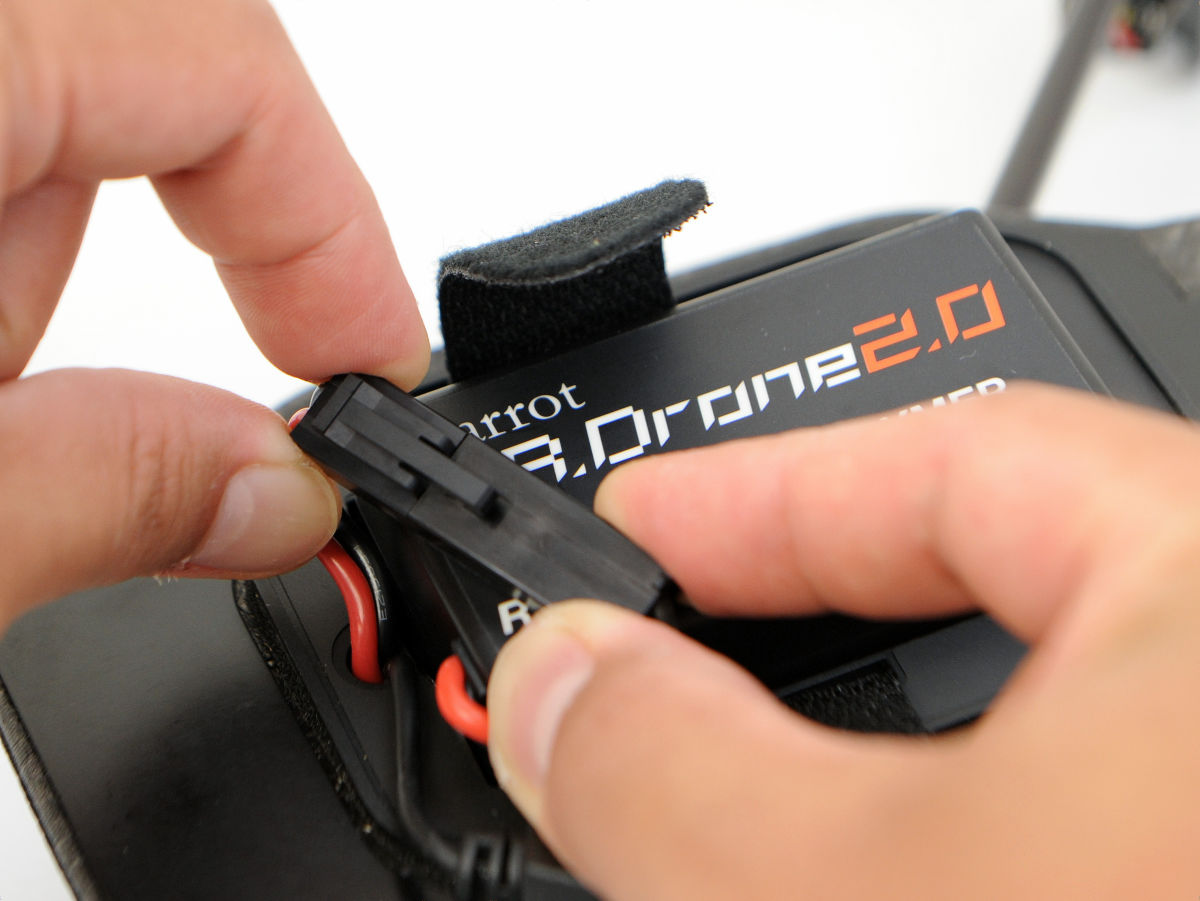
The procedure of battery replacement is as follows. First, remove the Velcro tape fastening the battery at the top of the main unit.
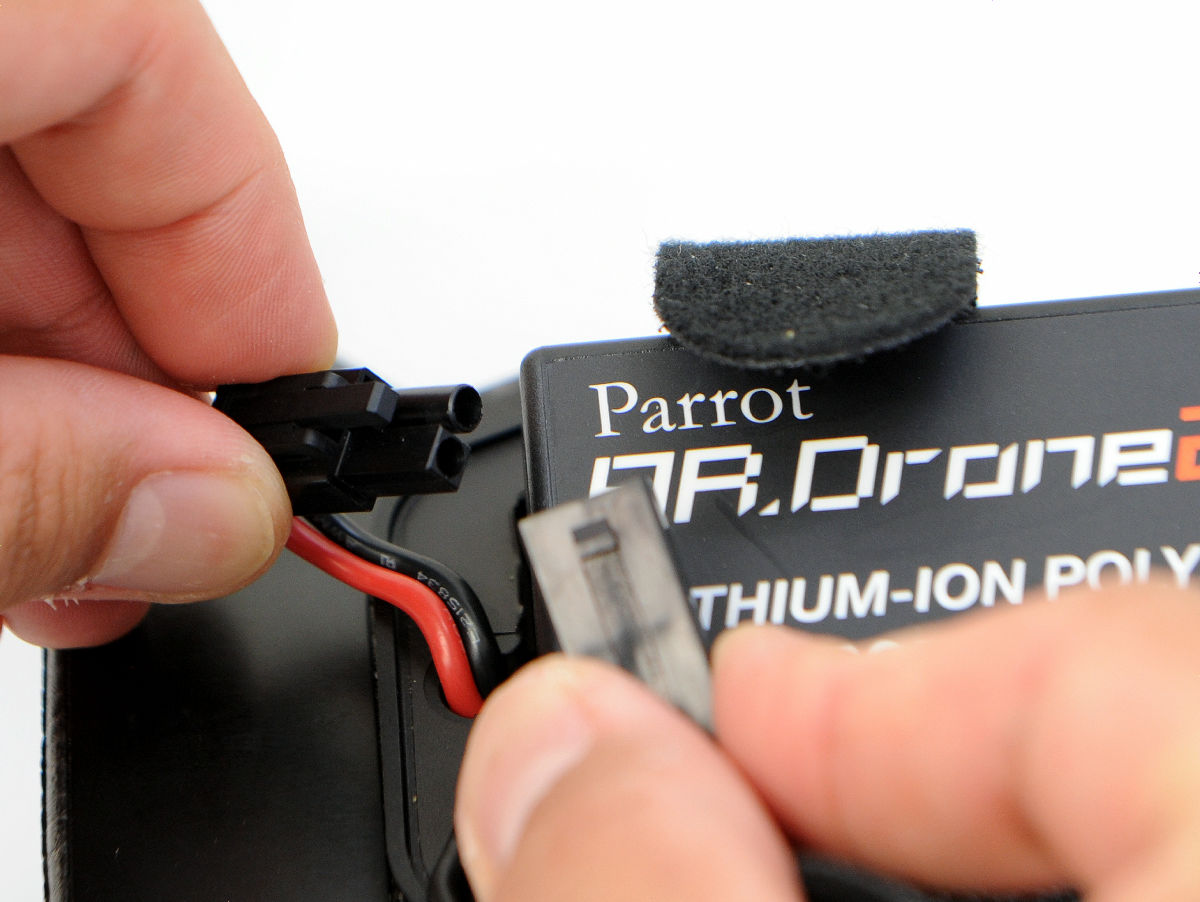
Remove the line connecting the main unit and the battery ... ....
Take the battery.
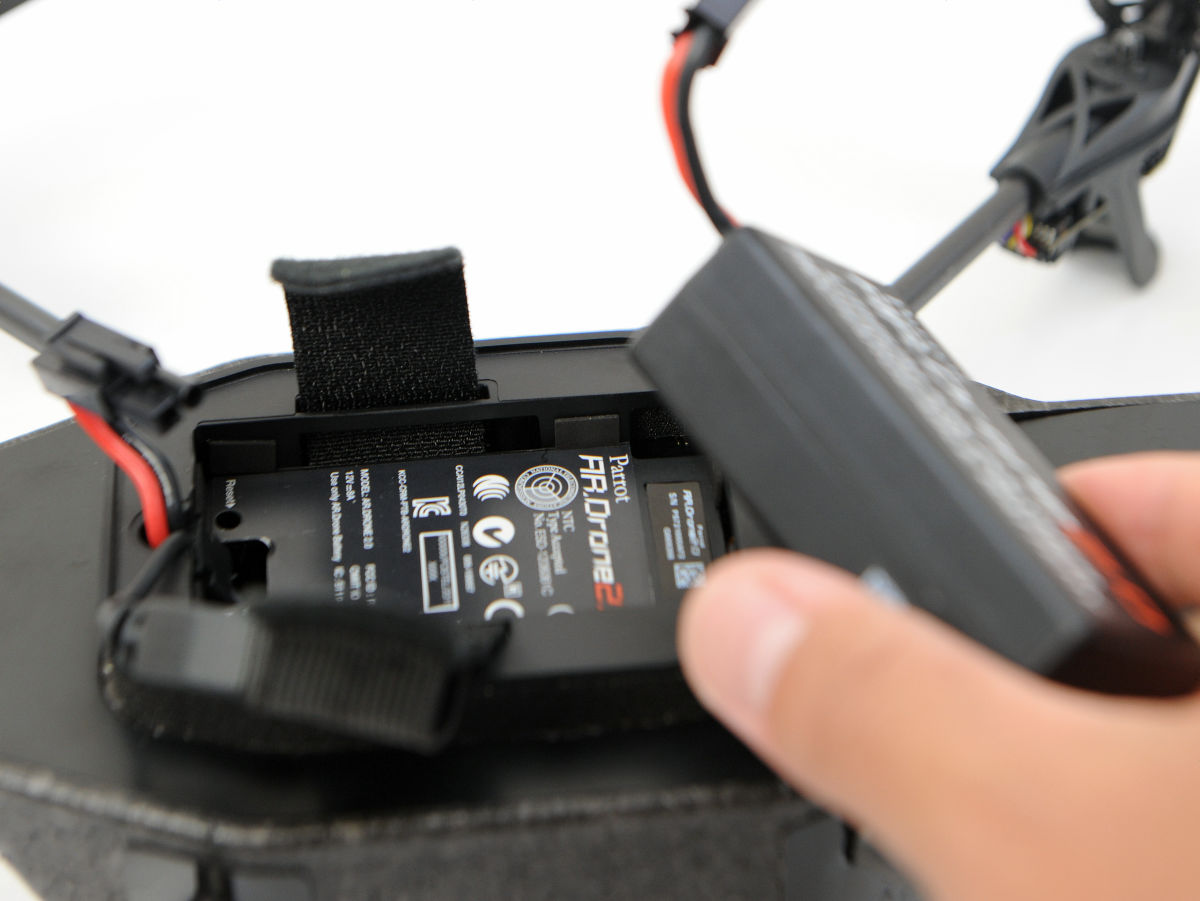
Put a new battery ... ....
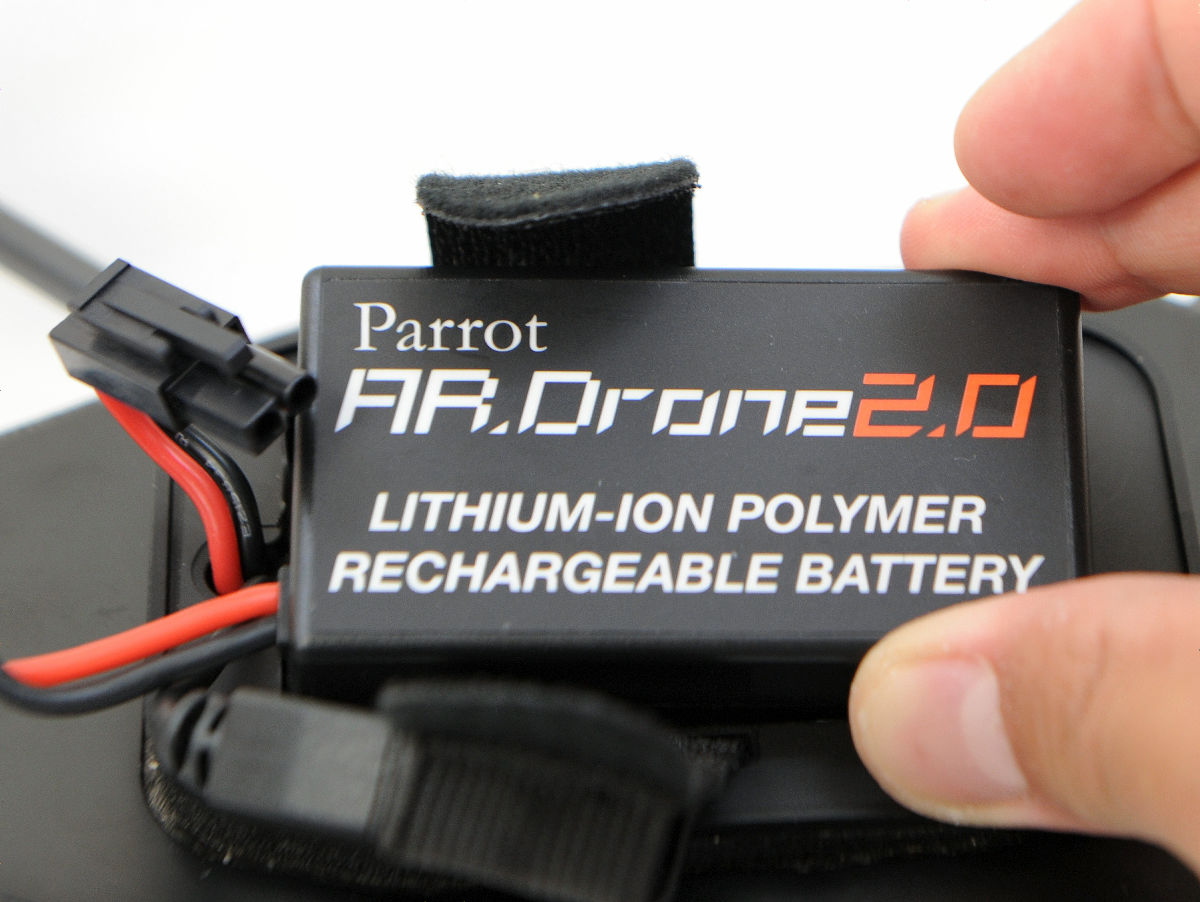
If you connect and restore it to the original OK.
That's why it's a product recommended for those who want to do aerial shooting movies while flying freely with an unusual radio control machine.
Related Posts: