Image service "Image Espresso" which can correct and process images free of charge and can convert to different formats
A free net service that you can enjoy various image processing and conversion of file formats such as "deformation", "correction", "effect" of images online is "Image Espresso"is.
It features a simple and easy-to-use menu screen and versatile functions, you can use it anywhere if you have an internet environment, and there is no need for member registration in particular, so you can use it as soon as you think.
Details of actual usage are as follows.Image Espresso? Free Online Image Converter & Editor
http://online.batchphoto.com/
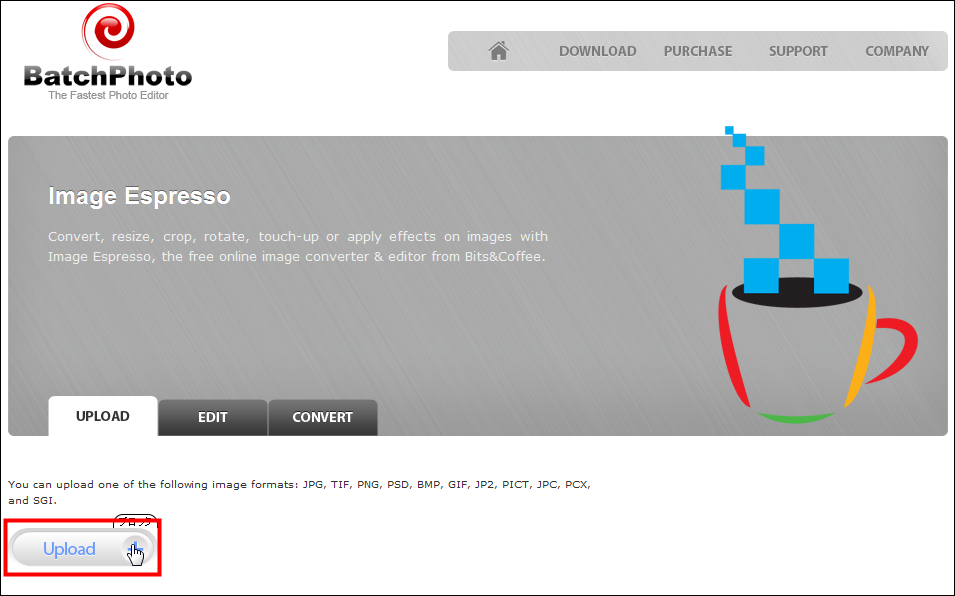
First click on "Upload" in the above page
Select the image to be processed and click "Open"

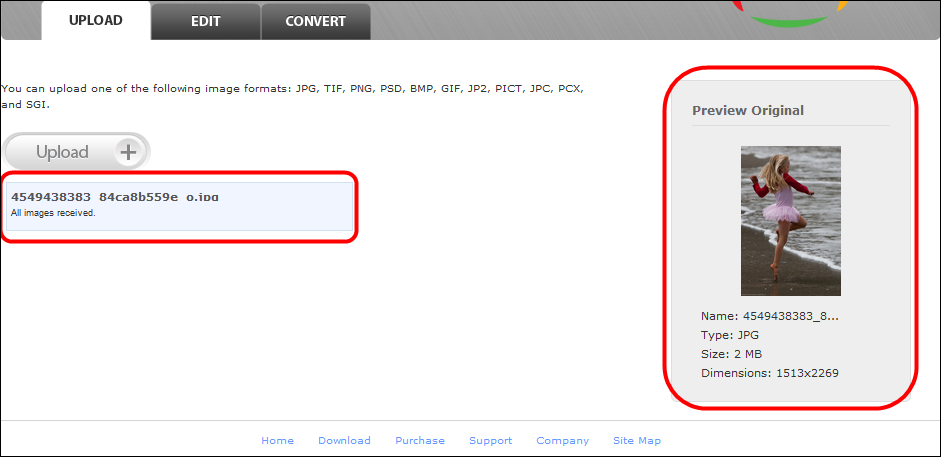
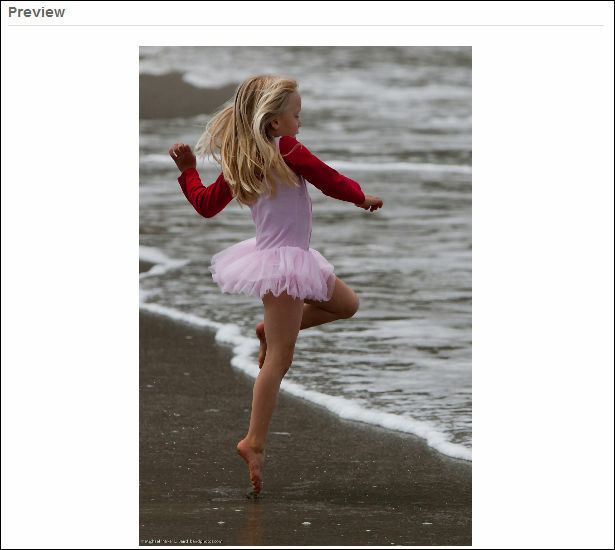
The image was uploaded like this.
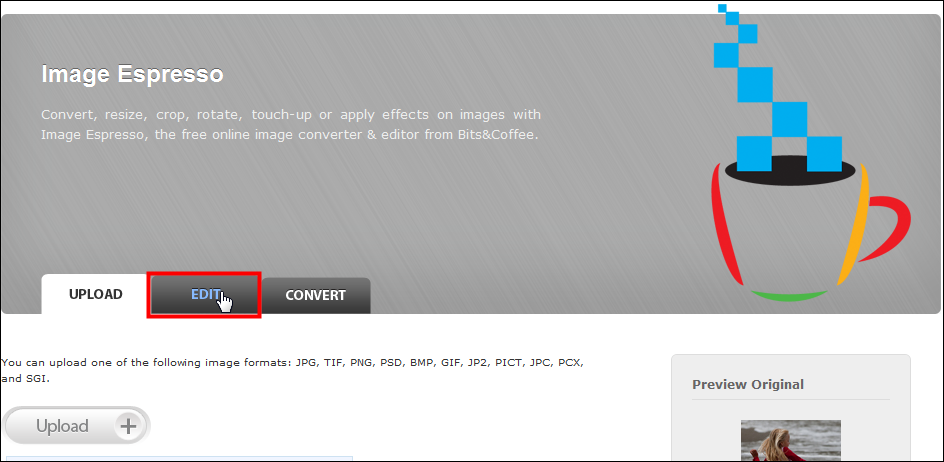
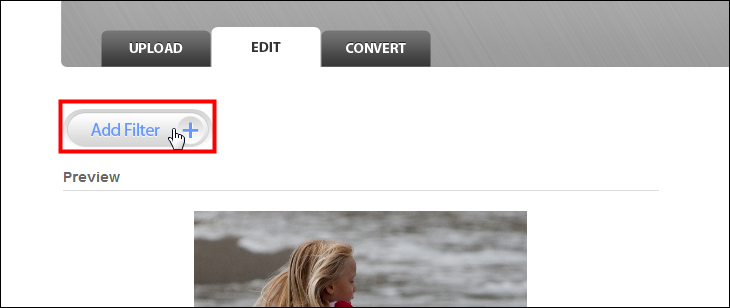
Next, click "EDIT"
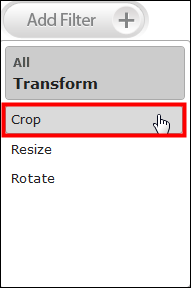
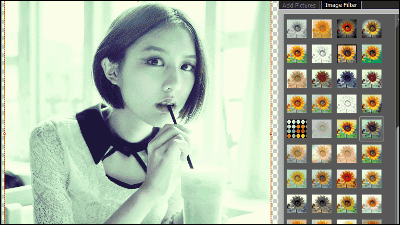
Click "Add Filter"
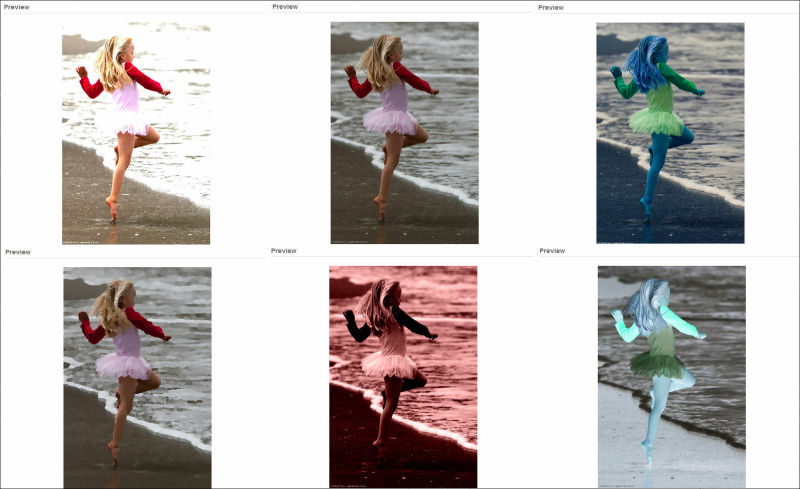
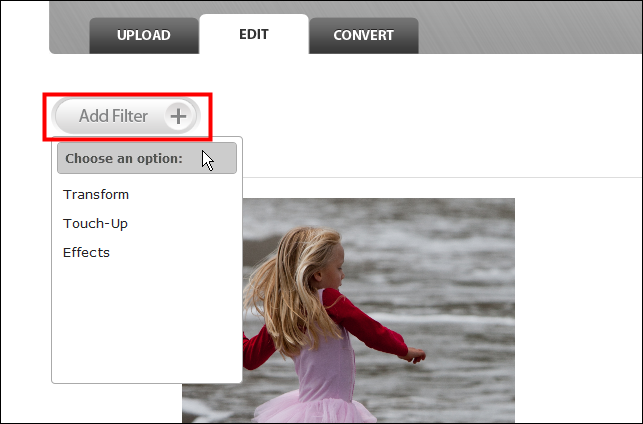
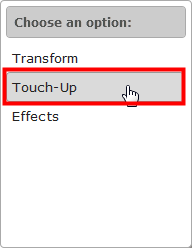
Then, three kinds of machining can be selected. "Transform" "Touch-Up" "Effects" meaning "transformation" "correction" "effect" in order.
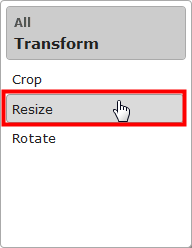
◆ Transform (deformation)
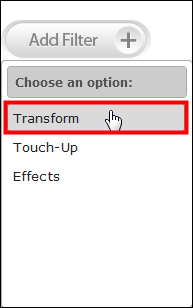
I will try it from "Transform"
Then there are 3 patterns of transformation methods like this
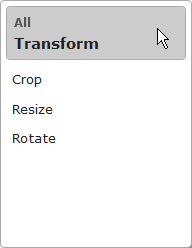
Click "Crop" to cut out the image
Specify the area to be cut like this
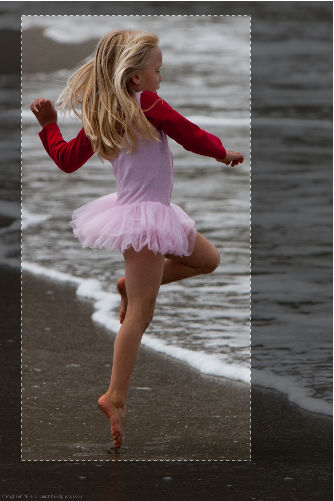
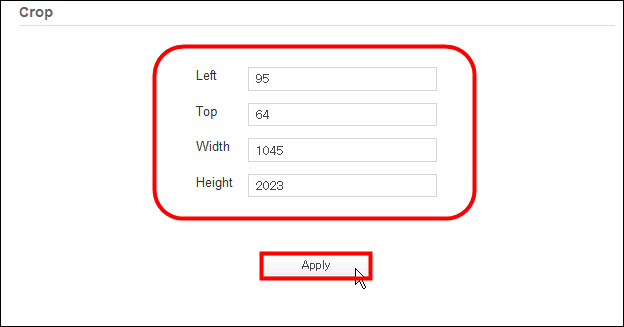
Then, the value of the selected area appears in the red frame below the image. It is also possible to select a region by directly entering a numerical value here. Click "Apply" to decide
I could cut it.
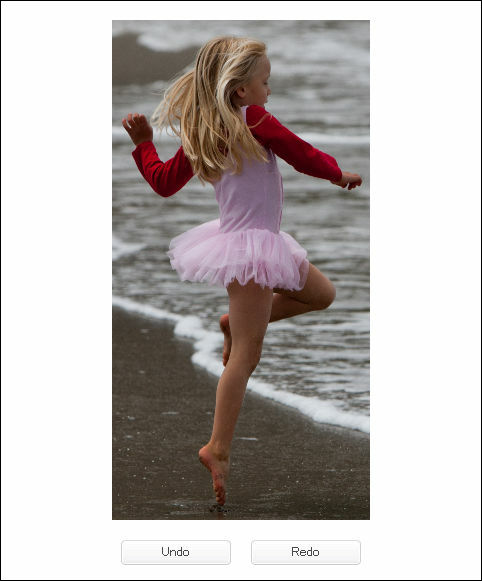
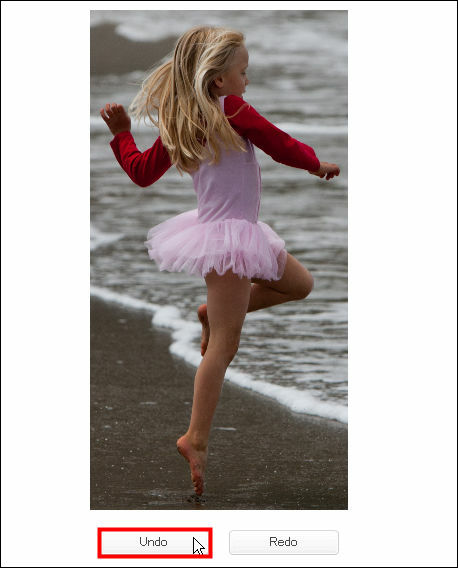
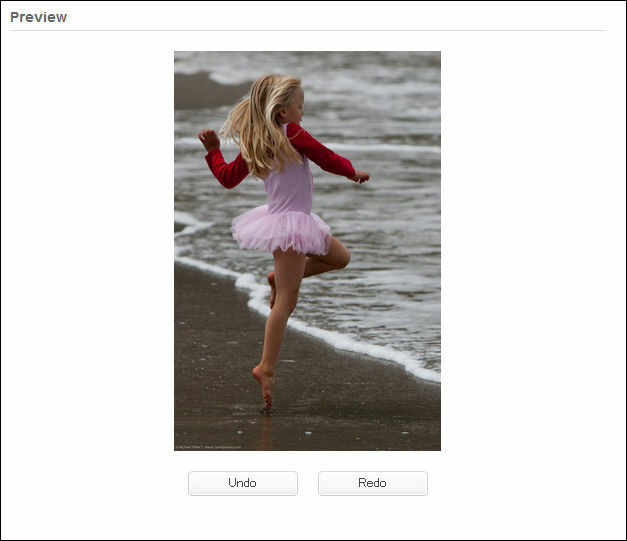
Click "Undo" to return the image to the state before processing
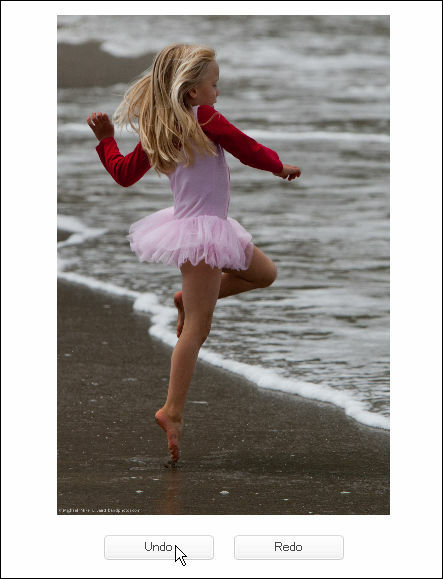
I went back before cutting
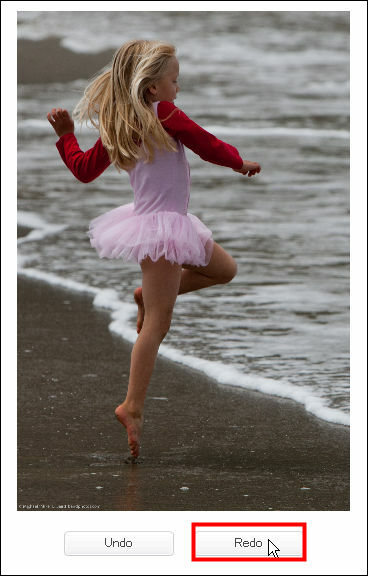
Also, if you want to do it again after processing, click "Redo"
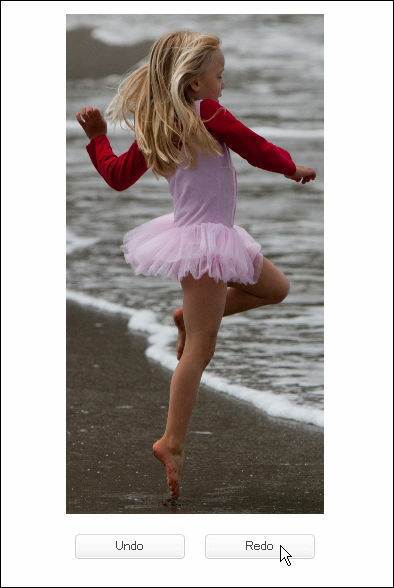
I got cut away.
Click "Resize" to change the size of the image
You can set the resize in the lower part of the image
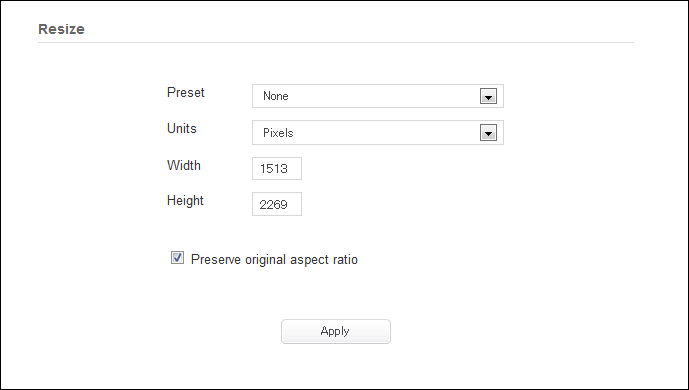
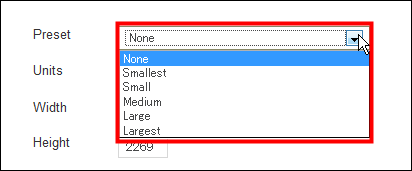
It is a pull-down menu on the right of "Preset" to select from 5 prescribed sizes.
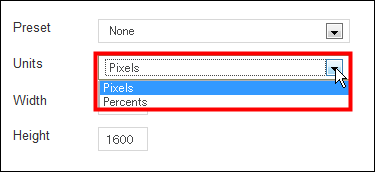
To select "pixel display" or "percent display" Click "Units" right pull-down menu
To specify a finer size by specifying a numerical value, input it to the right of "Width" "Height".
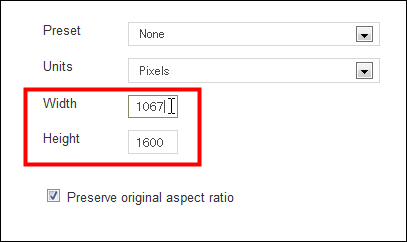
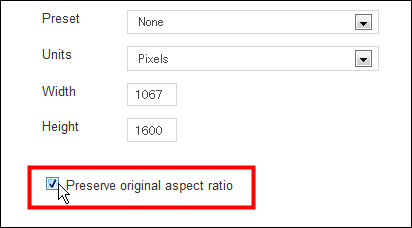
To preserve the aspect ratio of the original image, check "Preserve original aspect ratio".
I try to resize with a setting like this on a trial. Click "Apply"
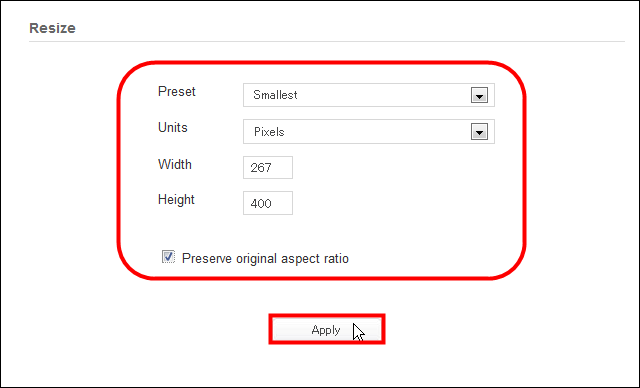
It was applied.
To rotate the image it is "Rotate"
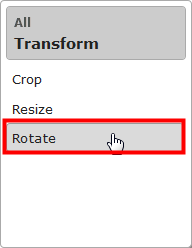
You can choose from three rotation methods
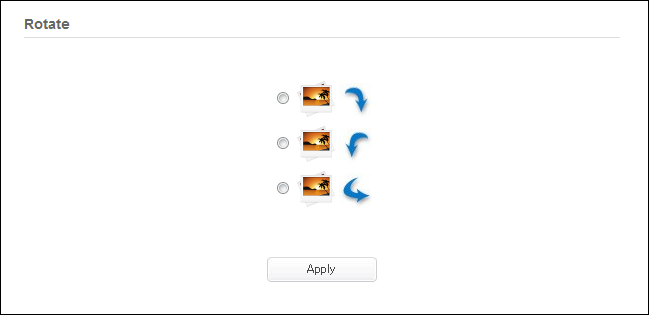
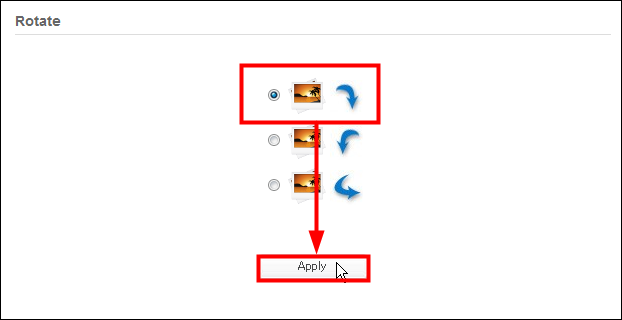
Let's try the top
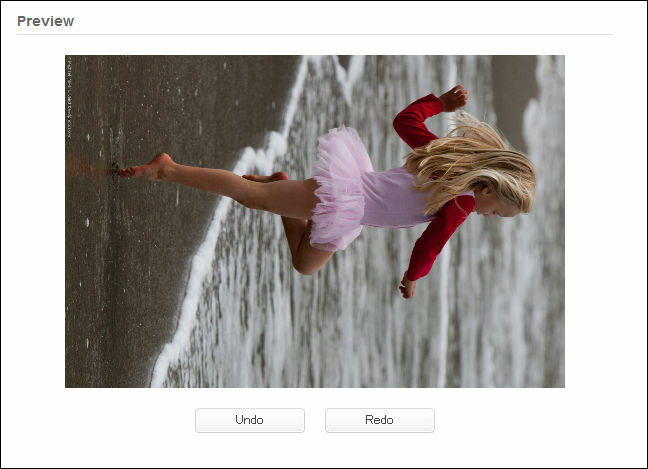
The image turned 90 degrees to the right.
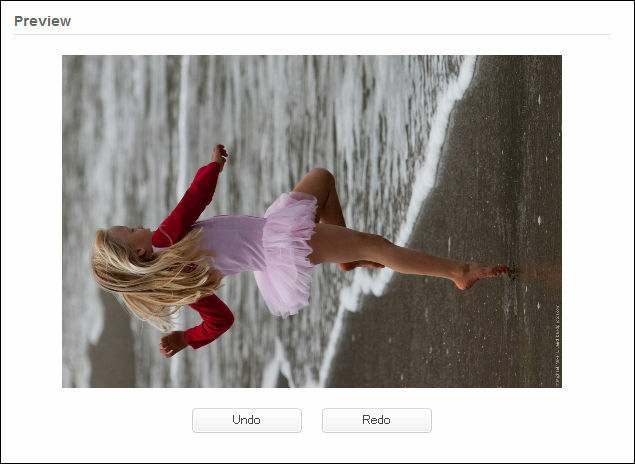
I will try the middle.
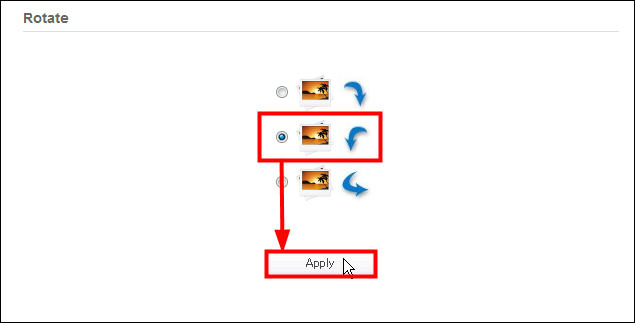
I turned 90 degrees to the left.
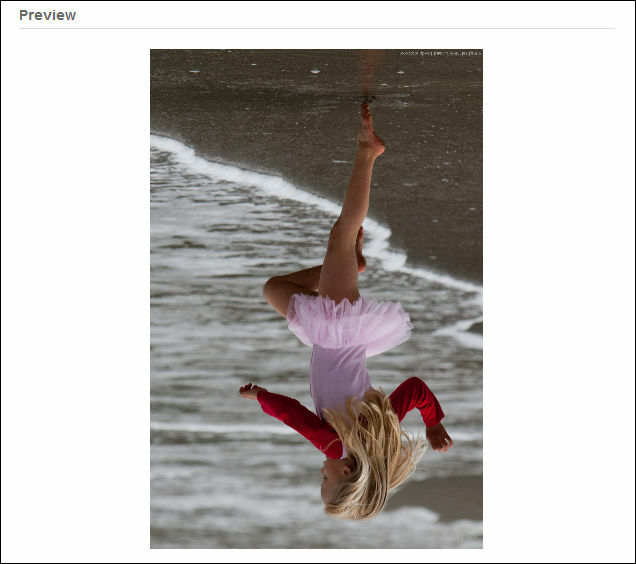
I will try the bottom.
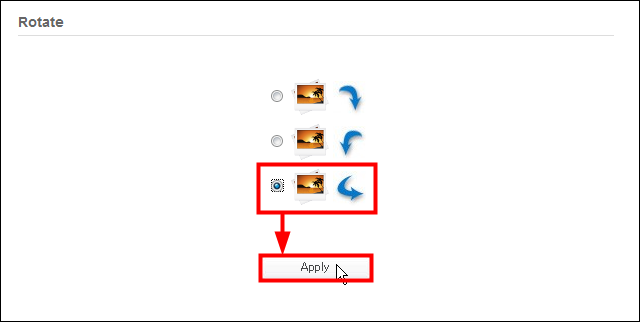
I turned 180 degrees.
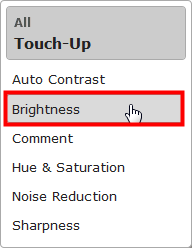
◆ Touch-Up (correction)
Next we will look at 'Touch-Up'.
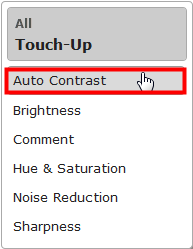
Click "Auto Contrast" to change the contrast
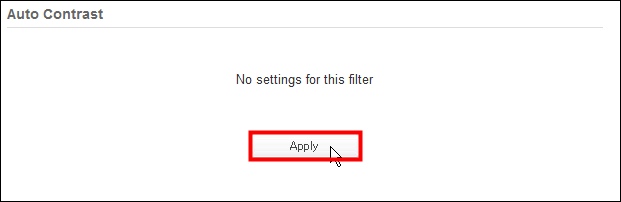
Since there are no setting items in particular, click "Apply"
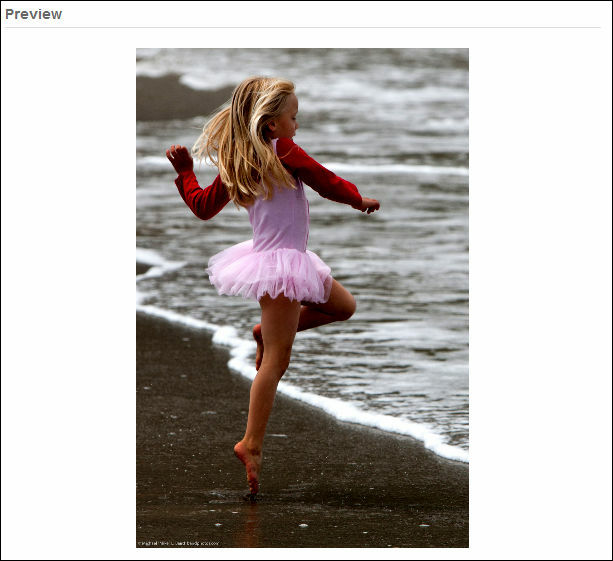
The contrast has changed.
To change the brightness, let's select "Brightness"
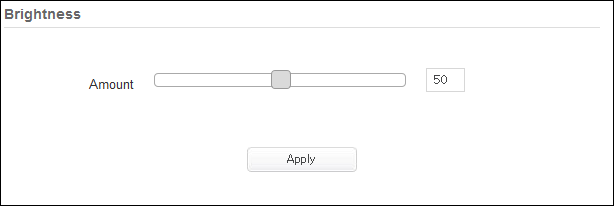
It is possible to set with the slide bar. Go bright to the right and go darker if you go to the left
I will try setting the brightest as the trial
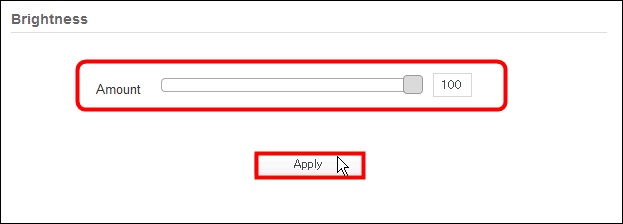
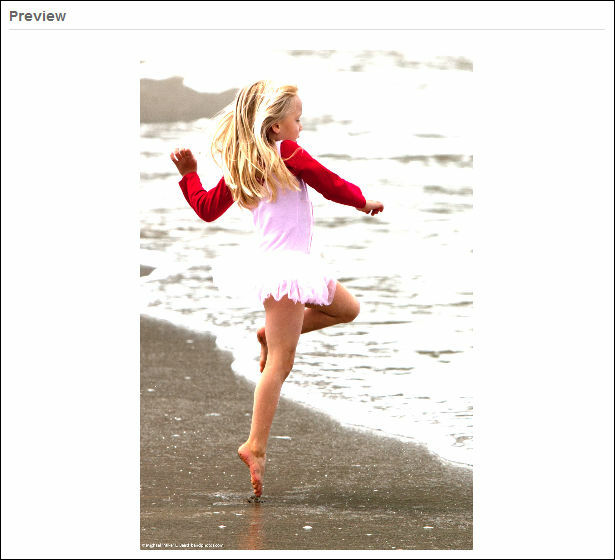
Then the image got brighter.
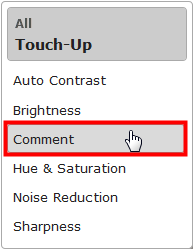
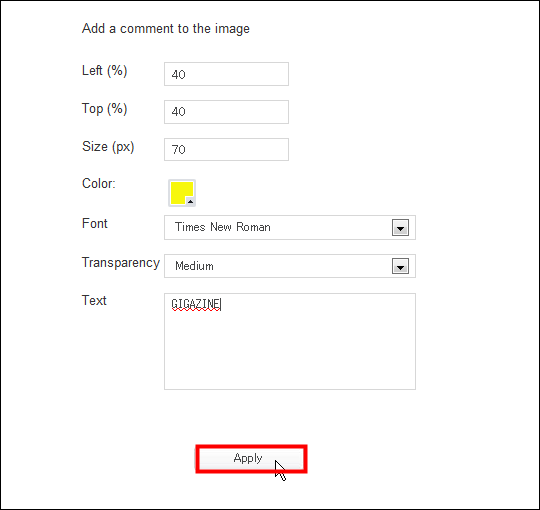
Click "Comment" to insert a character into the image
The setting screen will appear
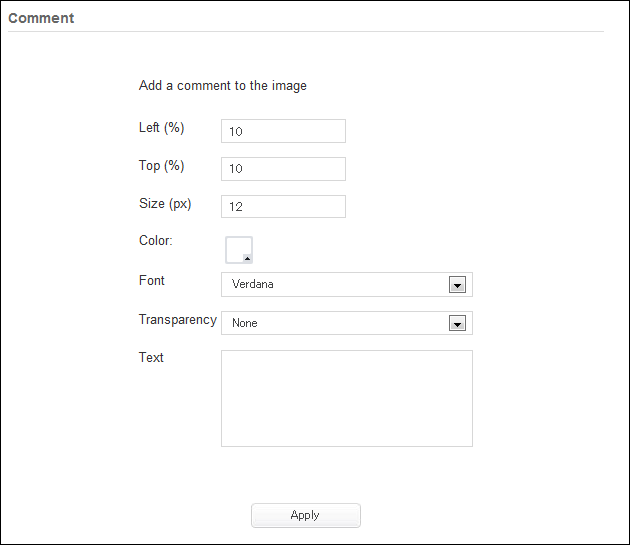
You can specify the position of letters with "Left" and "Top", and you can decide the size of letters in "Size"

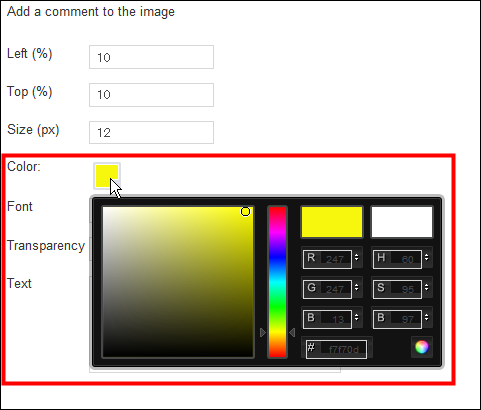
To decide the color of the letters Let's click "Color" and choose the color of your choice
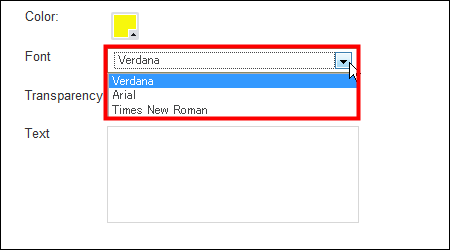
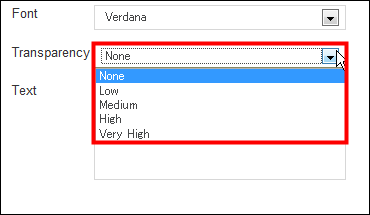
You can choose from three fonts: "Verdana" "Arial" "Times New Roman"
The transparency setting of letters is "Transparency"
I will set it up like this and try it out
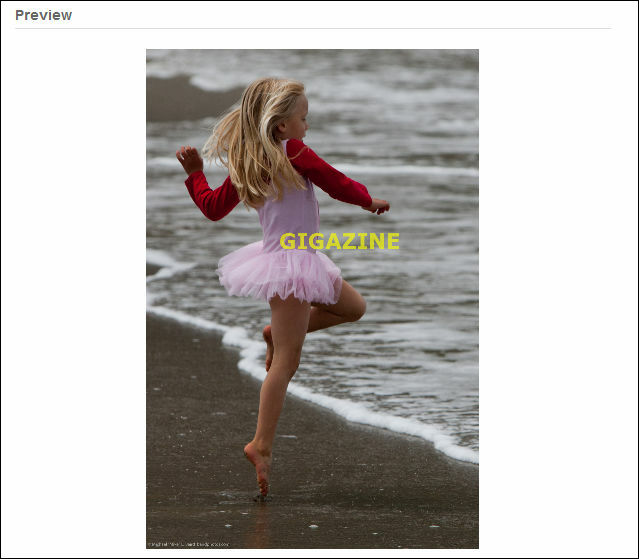
Letters entered in the image.
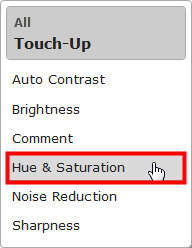
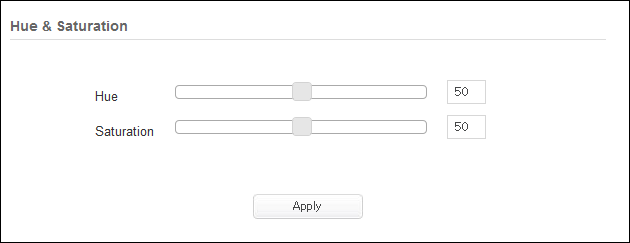
To set hue and saturation, select "Hue & Saturation"
It is possible to set with the slide bar
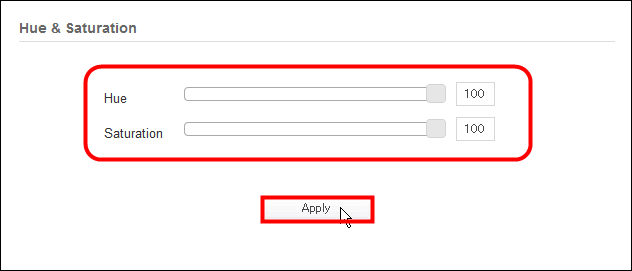
Try both machining to maximize
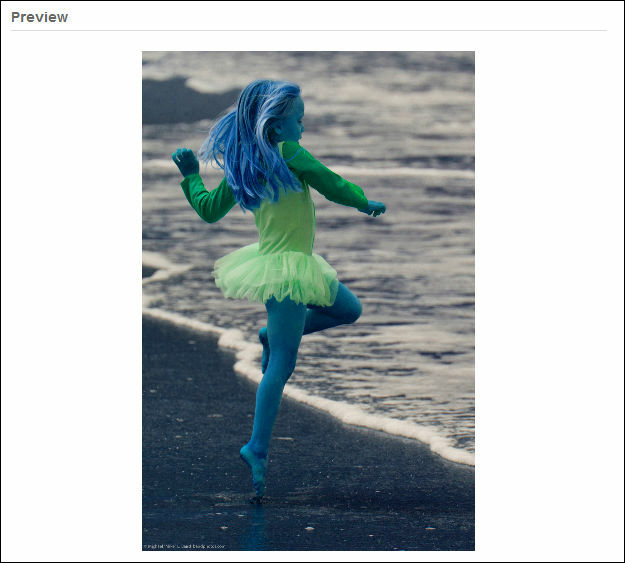
Then it looks like this.
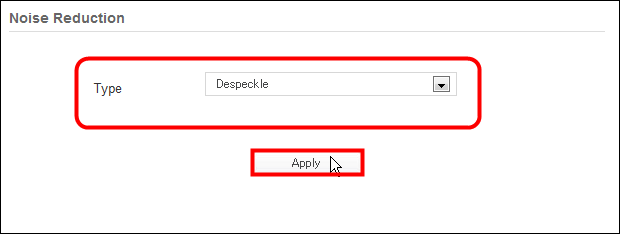
If you want to remove the noise of the image, it is "Noise Reduction"

The setting screen appears
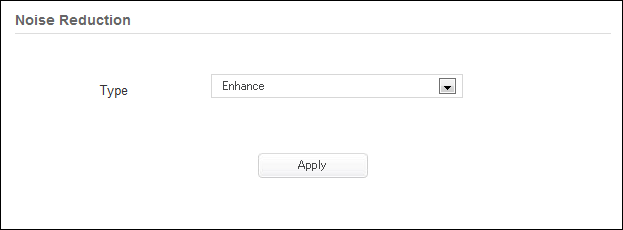
Enhance image quality with noise elimination "Enhance" Let's choose "Despeckle" for spot-like noise removal

I will try "Despeckle"
Processing completed. I do not understand the difference very much.

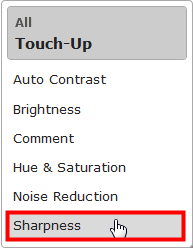
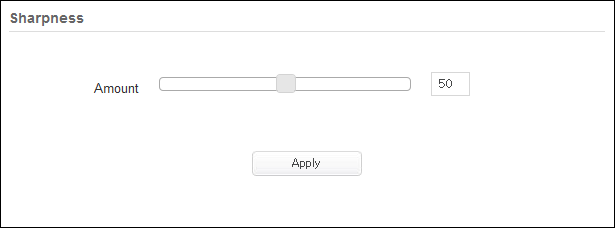
Click "Sharpness" to make the image clearer
It is still possible to adjust with the slide bar
I will try it at maximum
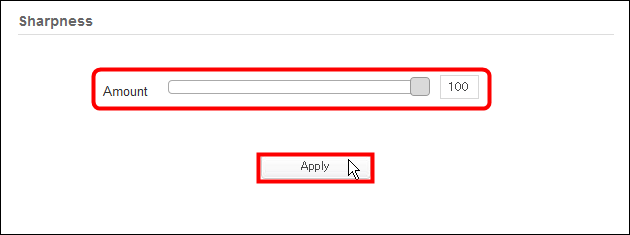
It was a bit hard to understand, but it was able to be processed. Especially the outline is emphasized.
◆ Effects (Effect)
Finally I will look at "Effects"
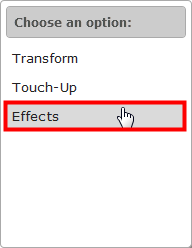
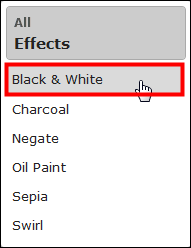
Click "Black & White" to make the image black and white
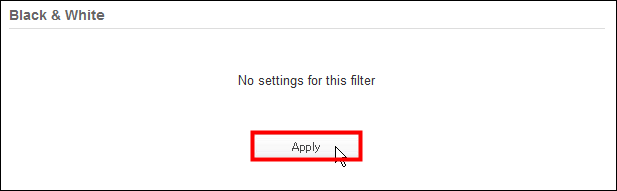
Since there are no setting items in particular, click "Apply"
It became black and white.

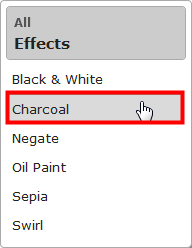
Select "Charcoal" to process charcoal style
Let's adjust with the slide bar

I tried it up to the maximum
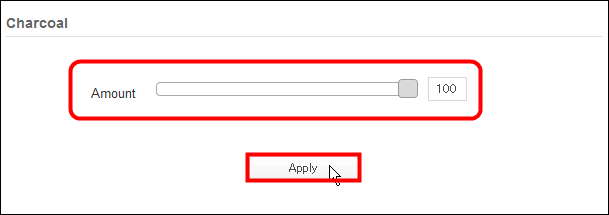
It is firmly a charcoal style

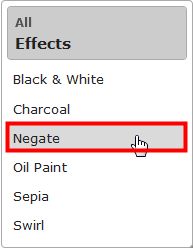
Click "Negate" if you want to make negative of the photo
There are no setting items in particular
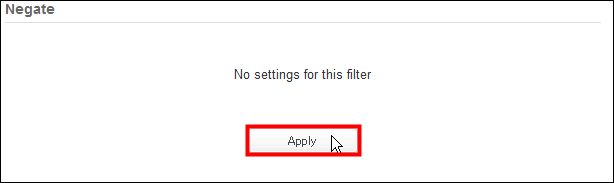
It is a negative from anywhere.
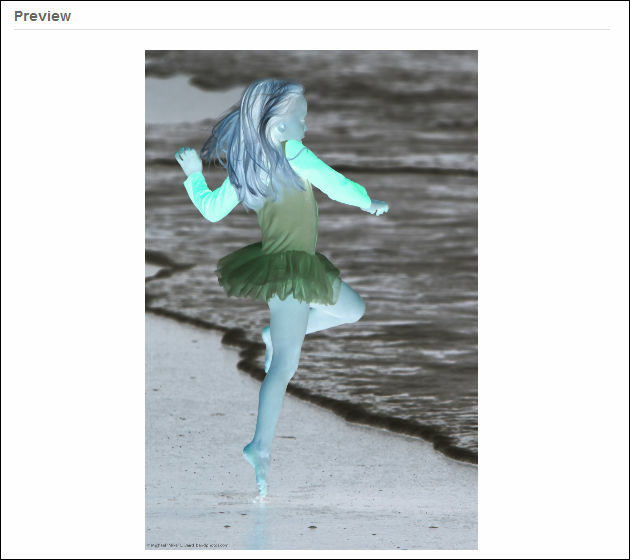
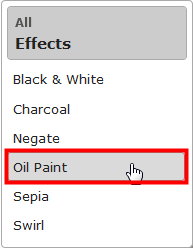
It is "Oil Paint" to make oil painting
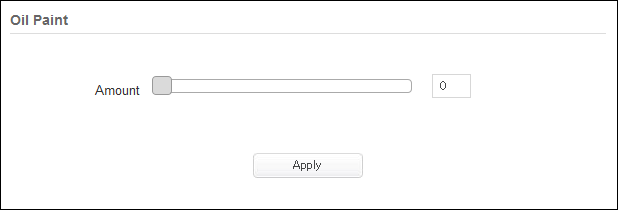
Adjusting the amount of the effect is a slide bar
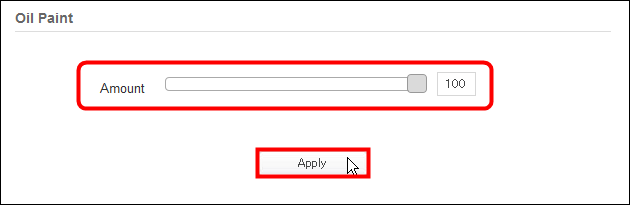
I will try to maximize it.
It became a solid oil painting style

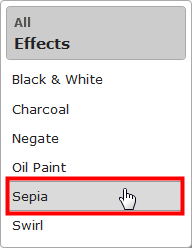
Select sepia processing "Sepia"
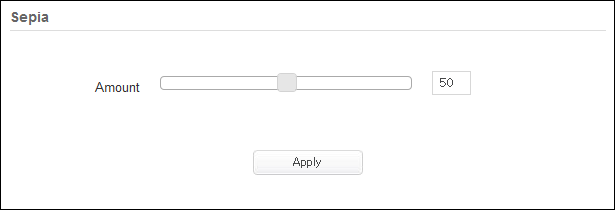
Adjust with the slide bar
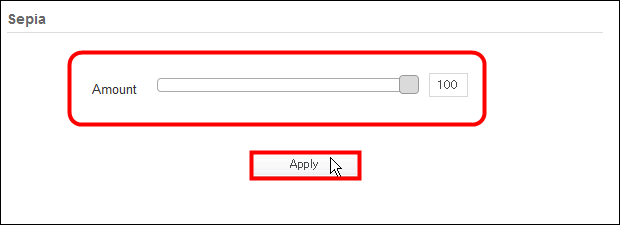
I will raise it this time as well
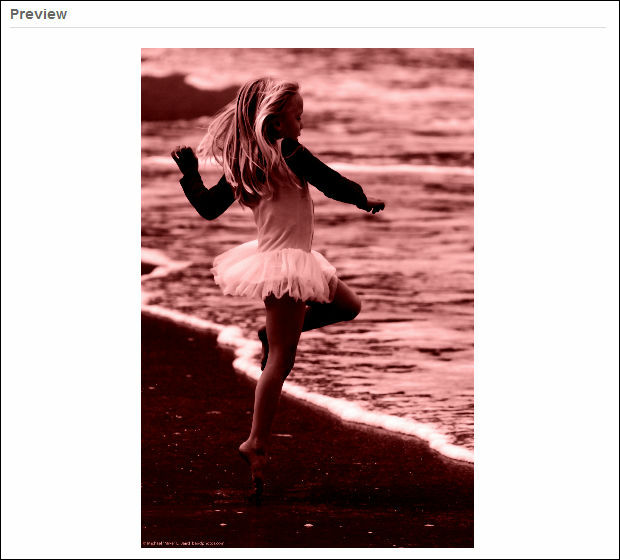
I became sepia.
Select "Swirl" to perform spiral processing
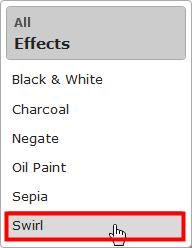
Let's adjust it with the slide bar
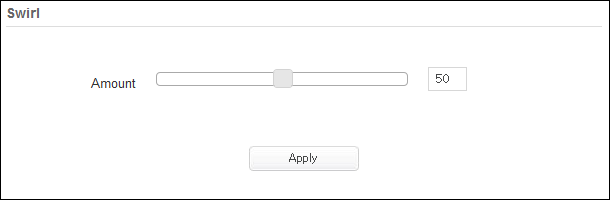
I will try the maximum processing
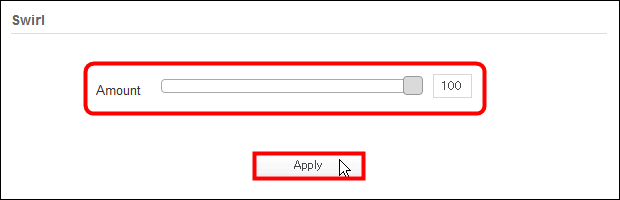
The picture swirled.

◆ CONVERT (Convert and save file format)
Click "CONVERT" to convert file format and save after image processing
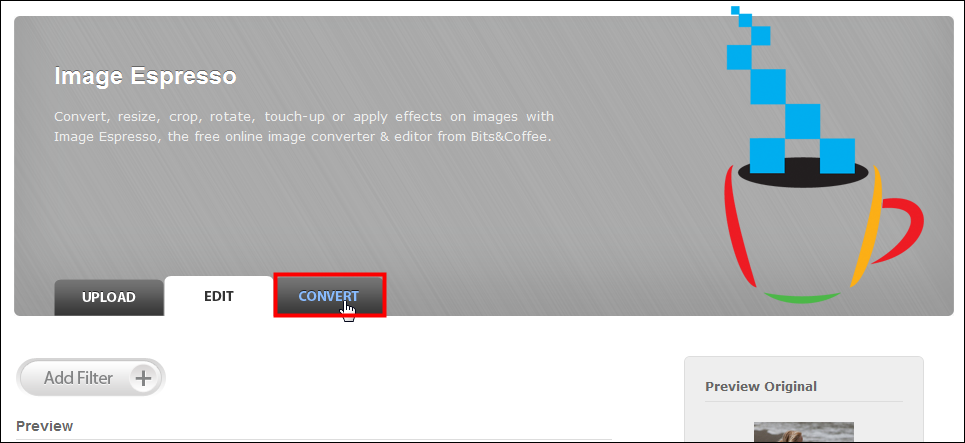
Image format, image quality, and name can be changed
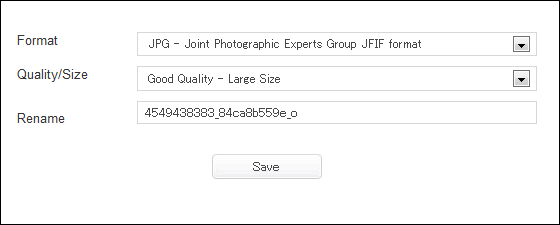
The file format can be selected from this amount

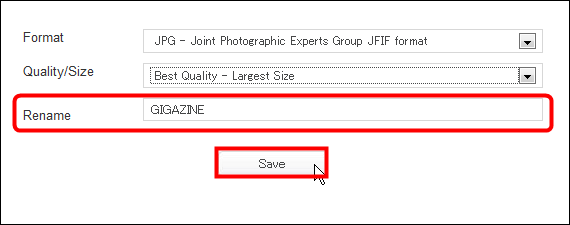
Choose image quality from 5 levels

To change the file name, write a new file name in the "Rename" column and click "Save" at the end.
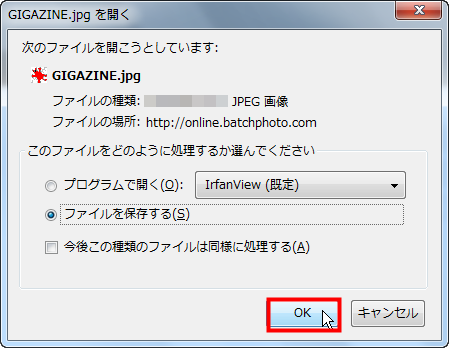
You will be asked if you want to download the file, so click "OK" to save it.
Related Posts:

in Review, Web Service, Posted by darkhorse_log